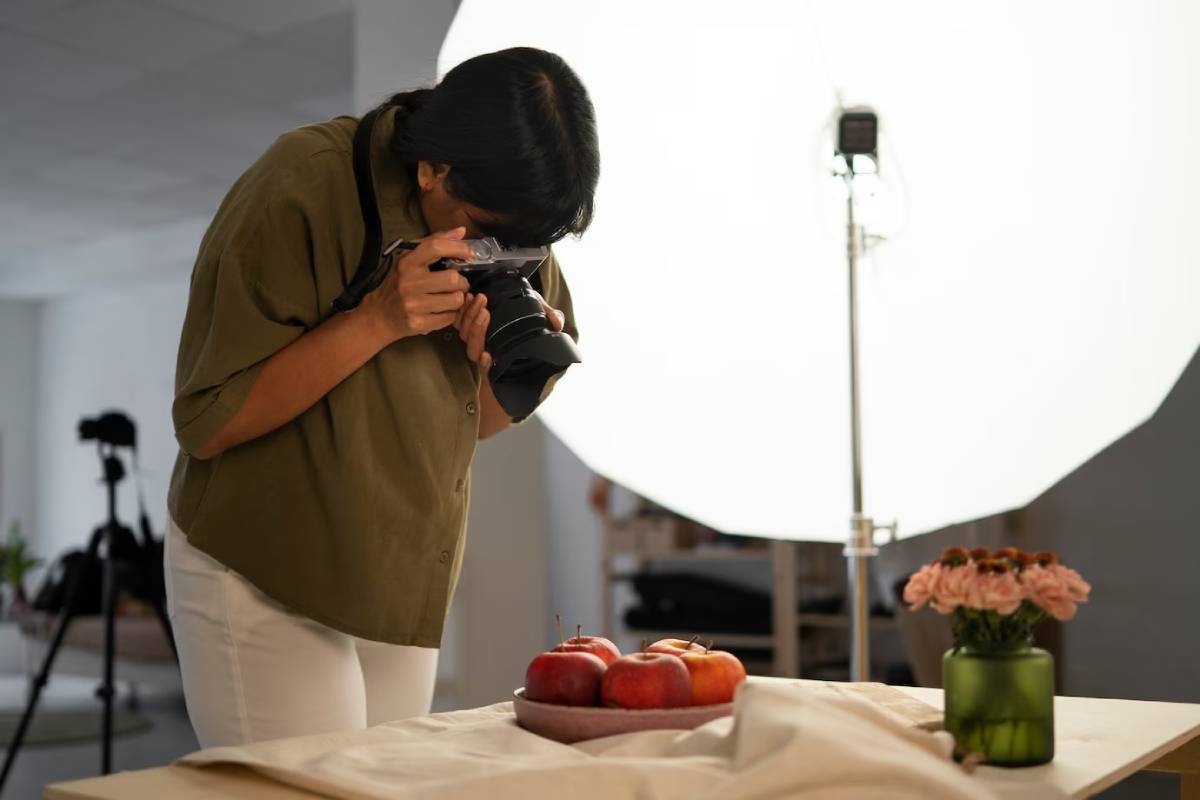
How to Photograph Handmade Products for Online Sales
In the crowded world of online shopping, standing out is essential. This is particularly true for artisans and craft lovers who sell handmade goods. A picture of your work is a good out more than way. It reflects the quality, the uniqueness and the story of each piece. This guide details how to take photos of handmade products for online selling. We talk about art and craft photography, share tips for product photos, and show you how to make enticing images of your crafts. Whether you are an expert craftsperson or a novice to e-commerce, these strategies can enhance your sales and brand reach.
Understanding the Core
Craft photography is an art form that requires a keen eye for detail and an understanding of how to present products in their best light. Handmade products stand out from mass-produced ones. They have unique textures, colours, and features. These qualities should be highlighted to draw in potential buyers. According to recent studies, high-quality images can increase the likelihood of sales by up to 30%. So, putting time and effort into improving your photography skills is not just a good idea—it’s a must.
The Importance of Craft Photography
Handmade products carry personal stories and unique designs. This makes them extraordinary compared to mass-produced items. Craft photography connects artisans and consumers. It tells a visual story, showing every piece’s skill and passion. Compelling product photography can enhance perceived value, build trust, and drive sales.
Quick Guide / Checklist
Before diving into the detailed steps, here’s a quick-reference checklist to ensure you’re on the right track:
- Lighting: Use natural light or soft artificial lighting.
- Background: Choose a clean, uncluttered background that complements your product.
- Angles: Capture multiple angles to showcase details.
- Editing: Use editing tools to enhance but not alter the product’s appearance.
- Consistency: Maintain a consistent style across your product images.
Pro Tip: Avoid Clutter. Keep your composition clean and focused on the product, removing any unnecessary elements that may distract the viewer.
Step-by-Step Guide (How to Practise)
1. Setting Up Your Space
Choose the Right Location: Find a spot with ample natural light, ideally near a window. Avoid direct sunlight, which can cause harsh shadows.
Background Selection: Opt for a neutral background that won’t distract from your product. White or light grey is often ideal, but consider a background that complements the colours of your product.
2. Lighting Techniques
Natural Light: Utilise natural light to create soft, even lighting. If necessary, diffuse harsh sunlight with a sheer curtain.
Artificial Lighting: If natural light is unavailable, use softbox lights or LED panels to mimic natural lighting conditions.
3. Composition and Angles
Rule of Thirds: Use the rule of thirds to create balanced and engaging compositions.
Multiple Angles: Capture your product from various angles to highlight its unique features and details.

4. Camera Settings
Manual Mode: Shoot in manual mode to control your camera settings. Adjust ISO, aperture, and shutter speed to suit your environment.
Focus: Ensure your product is in sharp focus, especially the details you want to highlight.
5. Editing Your Photos
Software Tools: Use editing software like Adobe Lightroom or Photoshop to adjust brightness, contrast, and saturation.
Consistency: Maintain a consistent editing style to create a cohesive look across your product range.
Important Tip: Colour Accuracy: Ensure that the colours in your images accurately reflect the product to avoid misleading potential buyers.
Best Practices & Additional Insights
Enhancing Product Appeal
- Props and Context: Use props sparingly to provide context or show scale, but ensure they don’t overshadow the product.
- Lifestyle Shots: Incorporate lifestyle images that show the product in use, helping customers envision it in their own lives.
Building a Brand Aesthetic
- Consistent Style: Develop a signature photography style that aligns with your brand identity, enhancing recognition and trust.
- Storytelling: Use your images to tell a story about your brand and products, connecting emotionally with your audience.
Important Note: Resolution Matters: High-resolution images are essential for maintaining quality across various platforms and devices.
FAQs

Q: Do I need a professional camera for craft photography?
A: While a professional camera can enhance image quality, many smartphones today have excellent cameras capable of taking high-quality product photos.
Q: How many photos should I include for each product listing?
A: Aim for at least 5-7 images per product, covering different angles and including detail shots.
Q: Should I watermark my images?
A: Watermarking can protect your images from unauthorised use, but it should be subtle so as not to detract from the product.
Let Your Products Shine Online
Capturing stunning photographs of handmade goods for sale online is a journey combining technical ability and artistic vision. The first step is to understand the fundamentals of photography as it relates to crafts. Use the information in this guide to troubleshoot your photos to produce strong images that show your products “& tell” your story. Once you begin to develop your capabilities, remember that practice and experimentation are the most important things in taking good craft photographs. Start by staging a simple photoshoot and watch how it transforms your online presence!
Ready to elevate your craft photography skills? Dive into our advanced guide on product photography for more in-depth techniques and expert insights. Your journey to captivating product images begins now!