How to Make Handmade Clay Jewellery at Home
Handmade clay jewellery has become very trendy lately. It appeals to do-it-yourselfers and fashionistas. The versatility and the personal touch give clay jewellery all the charm, a medium in which creators can show their unique style and creativity. If you are an avid crafter or nervous novice, at-home clay jewellery-making is a hugely gratifying and exciting hobby. This blog can help you make your clay jewellery: expert tips, mistakes to avoid, and advanced concepts to enhance your designs. Let’s delve into the world of clay jewellery and discover the joy of DIY accessories.
Why Handmade Clay Jewellery Matters
Handmade clay jewellery offers a unique blend of artistry and individuality. Unlike mass-produced accessories, each piece of clay jewellery tells a story of creativity and personal expression. Here are some key benefits of embracing this craft:
Personalisation and Creativity
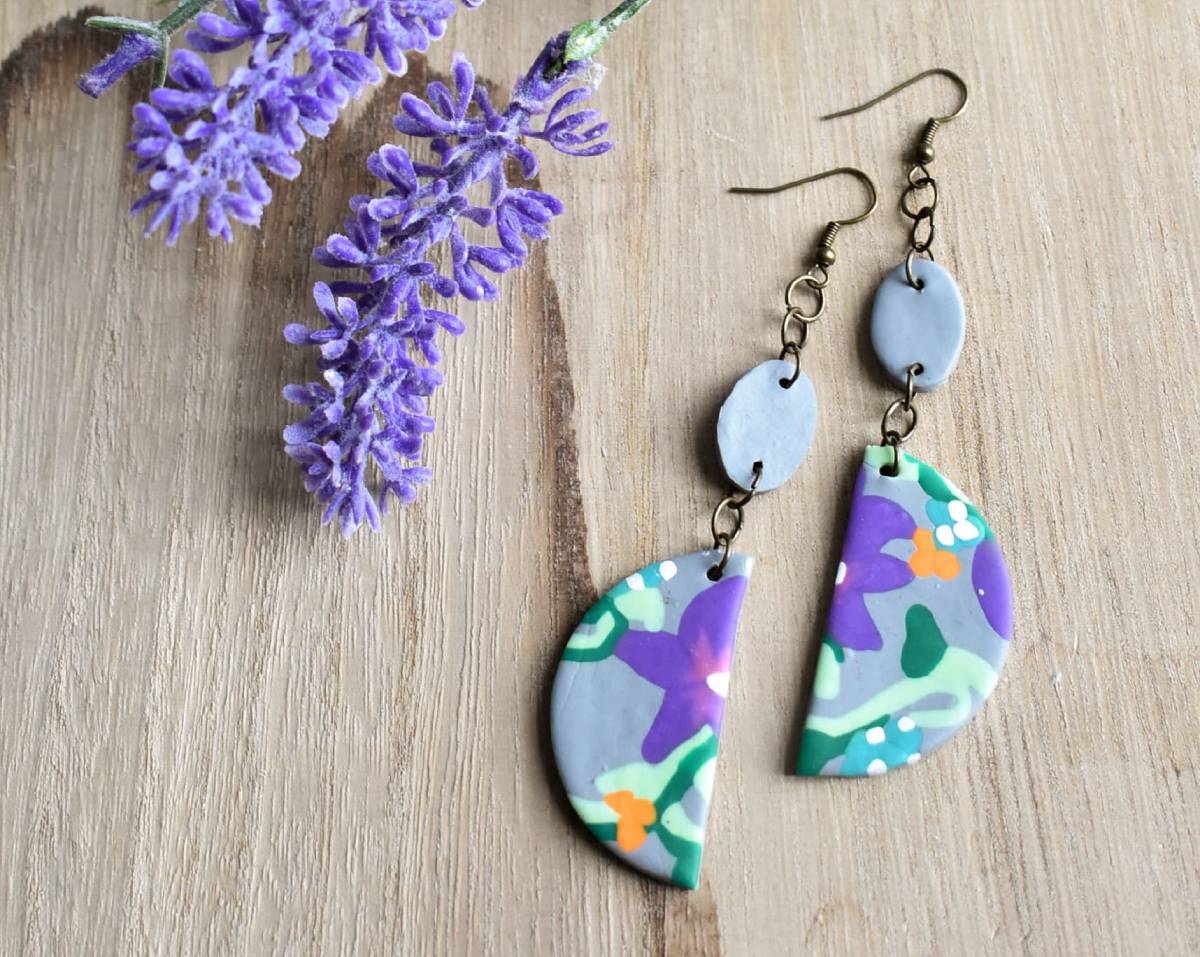
One of the most significant advantages of making your clay jewellery is the ability to personalise each piece. You can experiment with different colours, shapes, and textures to create jewellery that reflects your personality and style. Whether you prefer minimalist designs or bold, statement pieces, clay jewellery allows you to bring your creative vision to life.
Cost-Effective and Eco-Friendly
Creating clay jewellery at home is a cost-effective way to expand your accessory collection. The materials required, such as polymer clay and essential tools, are affordable and readily available. Moreover, by crafting your jewellery, you contribute to reducing the environmental impact associated with mass production and fast fashion.
Therapeutic and Relaxing
Working with clay can be incredibly therapeutic. It allows you to disconnect from the digital world and engage in a hands-on, mindful activity. Shaping and moulding clay encourages focus and patience, offering a sense of accomplishment and relaxation.
Unique Gift Ideas
Handmade clay jewellery makes for thoughtful and unique gifts. Whether for birthdays, anniversaries, or special occasions, a personalised piece of jewellery demonstrates care and effort, making it a cherished present for loved ones.
Getting Started with Clay Jewellery
Before diving into the creation process, gathering the necessary materials and tools is essential. Here’s a list of what you’ll need to get started:
Materials

- Polymer Clay: Polymer clay, available in various colours and finishes, is ideal for crafting jewellery due to its durability and ease of use.
- Jewellery Findings: These include earring hooks, jump rings, clasps, and chains, which are essential for assembling your jewellery pieces.
- Tools: Basic tools such as a rolling pin, clay cutters, and sculpting tools will help you shape and detail your clay designs.
Setting Up Your Workspace
Creating a designated workspace for your clay jewellery projects is crucial for maintaining organisation and focus. Ensure your workspace is clean, well-lit, and equipped with all the necessary materials and tools. A comfortable chair and a flat, sturdy surface enhance your crafting experience.
Step-by-Step Guide to Making Clay Jewellery
Now that you have your materials and workspace ready let’s explore the step-by-step process of creating handmade clay jewellery:
Step 1: Conditioning the Clay
Begin by conditioning your polymer clay. This involves kneading the clay until it becomes soft and pliable. Conditioning ensures that the clay is free of air bubbles and is easy to work with, allowing for smooth and even designs.
Step 2: Designing Your Jewellery
Once the clay is conditioned, it’s time to design your jewellery pieces. Use clay cutters or sculpting tools to shape the clay into your desired forms. Experiment with techniques such as marbling or texturing to add depth and interest to your designs.
Step 3: Baking the Clay
After shaping your jewellery pieces, it’s essential to bake them according to the manufacturer’s instructions. Baking hardens the clay, ensuring that your jewellery is durable and long-lasting. Be sure to monitor the baking process closely to prevent over-baking or burning.
Step 4: Assembling the Jewellery
Once the clay pieces have cooled, you can begin assembling your jewellery. Use jewellery findings to attach earring hooks, jump rings, and clasps to your clay creations. Ensure all connections are secure to prevent pieces from falling apart during wear.
Additional Expert Tips & Common Mistakes to Avoid
Expert Tips
- Experiment with Colours: Don’t be afraid to mix different colours of polymer clay to create unique shades and patterns.
- Use Texture Tools: Incorporate texture tools like stamps or textured rollers to add intricate details to your designs.
- Practice Patience: Allow yourself time to experiment and refine your techniques. Mastery comes with practice and persistence.
Common Mistakes to Avoid
- Skipping Conditioning: Failing to condition the clay properly can result in brittle, uneven pieces that are prone to breaking.
- Over-Baking: Monitor the baking process closely to avoid overbaking, which can cause discolouration or burning.
- Neglecting Finishing Touches: Ensure that all jewellery findings are securely attached and that rough edges are smoothed before wearing or gifting your creations.
Advanced Insights and Techniques
Incorporating Mixed Media
Combine polymer clay with other materials, such as metal, glass, or wood, to create mixed-media jewellery pieces that showcase a variety of textures and styles. This approach allows for greater creativity and innovation in your designs.
Creating Intricate Patterns
Experiment with advanced techniques, such as caning or millefiori, to create intricate patterns and designs within your clay jewellery. These techniques involve layering different clay colours to achieve detailed, eye-catching effects.
Custom Moulds

Create custom moulds using silicone mould-making kits to replicate intricate designs or textures. Custom moulds can add a professional touch to your jewellery and streamline the production process for multiple pieces.
Embrace the Joy of DIY Accessories
Handmade clay jewellery is easy to make and fun to work with at home. It allows you to express your creativity and individuality. Beautiful, personalised jewellery can be danced by following the procedures described in this tutorial. You will write new things, things that matter. Embrace the process. Try new techniques. Relish in the therapy that clay brings. Clay jewellery can be made into many things. When you refine your skills, the creativity flow will be endless—company about instilling passion and creating art pieces with basic materials. Don’t let your creativity go to waste and try pottery. Get your materials, set up your workspace, and make clay jewellery today. Happy crafting!