The Crafts Blog
How to Create Custom Stencils for Craft Projects
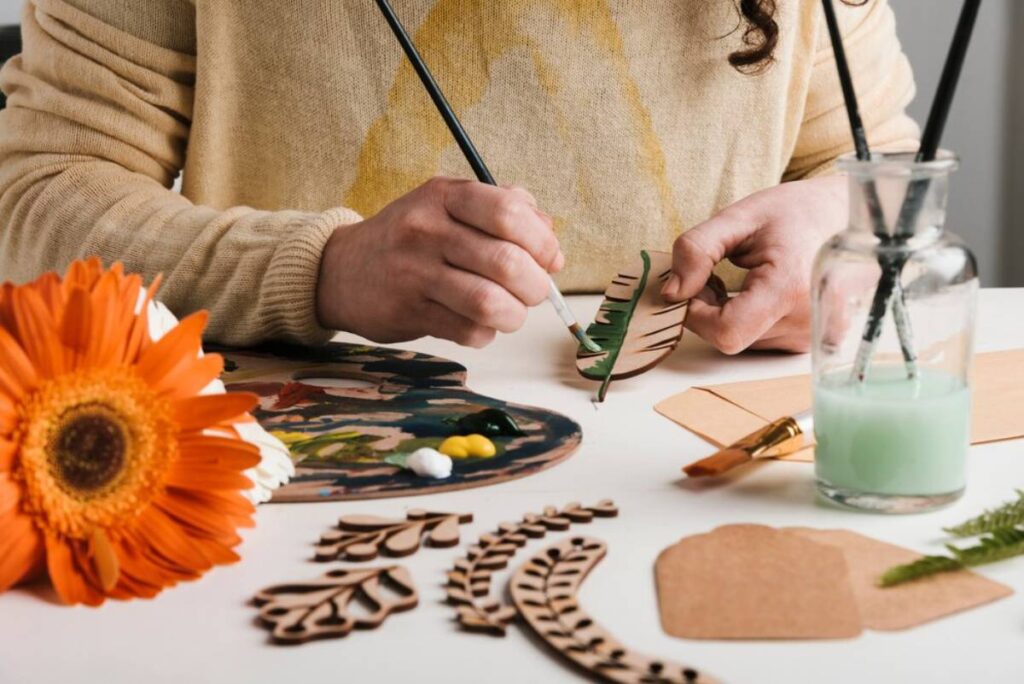
Craft projects can be transformed by creating personalised stencils. They give your work a unique personal touch. You can personalise artwork, furniture, and home décor with custom stencils. They provide the adaptability and imagination to realise your vision. DIY stencils have become increasingly popular as of October 2023 as more crafters look for ways to add custom designs to their creations. This tutorial provides a thorough and understandable look at creating personalised stencils. It will make crafting more enjoyable and successful.
Understanding the Core
Custom stencils are templates used to apply designs onto various surfaces. They are particularly popular in crafting due to their versatility and ease of use. Creating DIY stencils involves designing a pattern, transferring it onto a stencil material, and then cutting out the design to create a reusable template.
Why Custom Stencils Matter
Custom stencils offer several benefits that make them a valuable tool in any crafter’s arsenal:
- Personalisation: They allow for unique designs tailored to your specific project needs.
- Reusability: Once created, stencils can be used multiple times, making them cost-effective. Or in general, DYI-ing is a great way.
- Precision: They ensure clean, sharp lines and consistent patterns, enhancing the professional look of your projects.
Pro Tip: Always use a self-healing cutting mat to prevent damage and extend the life of your tools.
Quick Guide / Checklist
Before diving into the detailed process, here’s a quick-reference checklist to keep in mind:
- Design your pattern: Sketch your design or use digital tools.
- Select stencil material: Choose durable, suitable material like mylar or acetate.
- Transfer design: Use tracing or printing methods.
- Cut out stencil: Employ precision tools for accuracy.
- Test and refine: Trial your stencil on a sample surface.
Step-by-Step Guide (How to Practise)
Step 1: Design Your Pattern
The first step in creating a custom stencil is to finalise your design. This could be a hand-drawn sketch or a digital design using software like Adobe Illustrator or Canva. Consider the intricacy of your design; simpler patterns are easier to cut and apply, especially for beginners.
Step 2: Select Stencil Material
Choosing the right material is crucial for durability and ease of use. Common materials include:
- Mylar: A popular choice due to its strength and flexibility.
- Acetate: Clear and easy to cut, ideal for intricate designs.
- Vinyl: Suitable for temporary stencils, great for one-off projects.
Step 3: Transfer Design
Once your design is ready, transfer it onto your chosen stencil material. This can be done by:
- Tracing: Place the design under the stencil material and trace with a pencil or marker.
- Printing: If using a printer, ensure the material is compatible and feed it through carefully.
Step 4: Cut Out Stencil
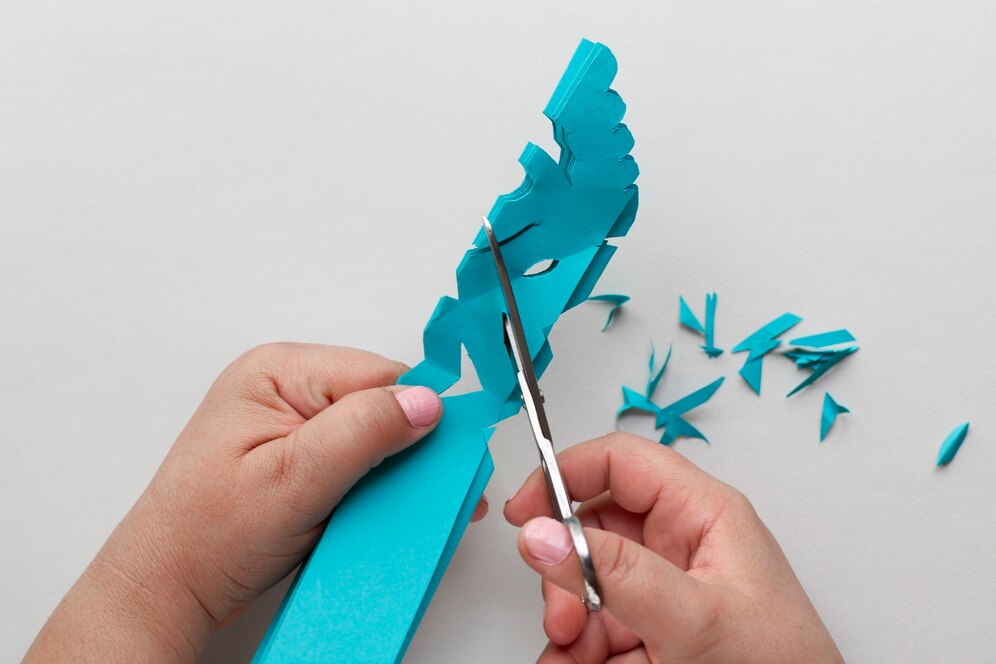
Cutting your stencil requires precision. Use tools such as:
- Craft knife: For detailed cuts, a sharp craft knife is essential.
- Stencil cutter: Electric cutters like Cricut can save time and improve accuracy.
Ensure you work on a cutting mat to protect surfaces and achieve clean cuts.
Step 5: Test and Refine
Before applying your stencil to the final surface, test it on a sample material. This allows you to check for any design flaws or cutting errors. Make necessary adjustments to ensure perfection.
Important Tip: Secure your stencil: When applying paint, use repositionable adhesive spray to hold the stencil in place and prevent smudging.
Best Practices & Additional Insights
Enhancing Your Stencil Projects
- Experiment with textures: Use different painting techniques, such as sponging or airbrushing, to add depth and texture to your designs.
- Incorporate mixed media: Combine stencilling with crafting methods such as embossing or decoupage for unique effects.
- Maintain your stencils: Clean them after each use to prolong their lifespan and ensure crisp application every time.
FAQs

Q: Can I create stencils without specialised tools?
A: While tools like stencil cutters are helpful, you can create stencils using essential tools like a craft knife and a steady hand.
Q: What surfaces can stencils be used on?
A: Stencils are versatile and can be used on wood, fabric, walls, glass, etc. Ensure the paint or medium you use is suitable for the surface.
Q: How do I prevent paint bleed under the stencil?
A: Use minimal paint and apply it in light layers. Secure the stencil firmly to the surface to minimise gaps.
Start Crafting with Confidence
Making your stencils allows you to be more creative with your craft projects. The joy of seeing your original designs come to life is unmatched, regardless of your experience level. Begin creating stencils now to quickly and precisely transform your craft projects. Are you prepared to step up your crafting game? Start your next project by looking through our stencil-making supplies and tools selection. For additional advice and motivation, go there.


YOU MAY LIKE