How to Create a DIY Geometric Wall Mural
Art on the wall is a decoration that reflects your taste and creativity. There are numerous ideas, but DIY geometric murals are one of the most modern-looking and flexible. Here’s how you can create the mural geometrically on your own. The materials you need are included, along with easy steps and helpful tips to make your project fun and successful.
Why Geometric Wall Murals Matter
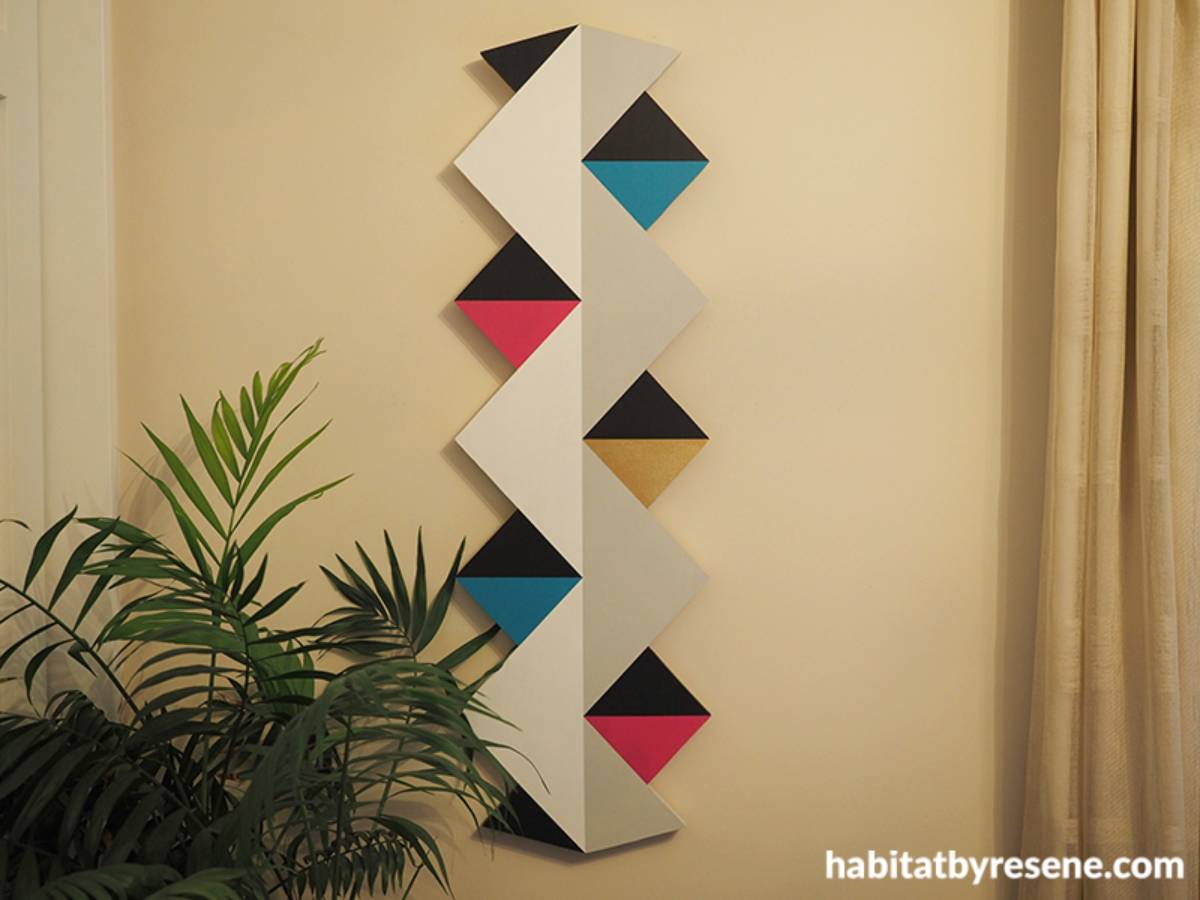
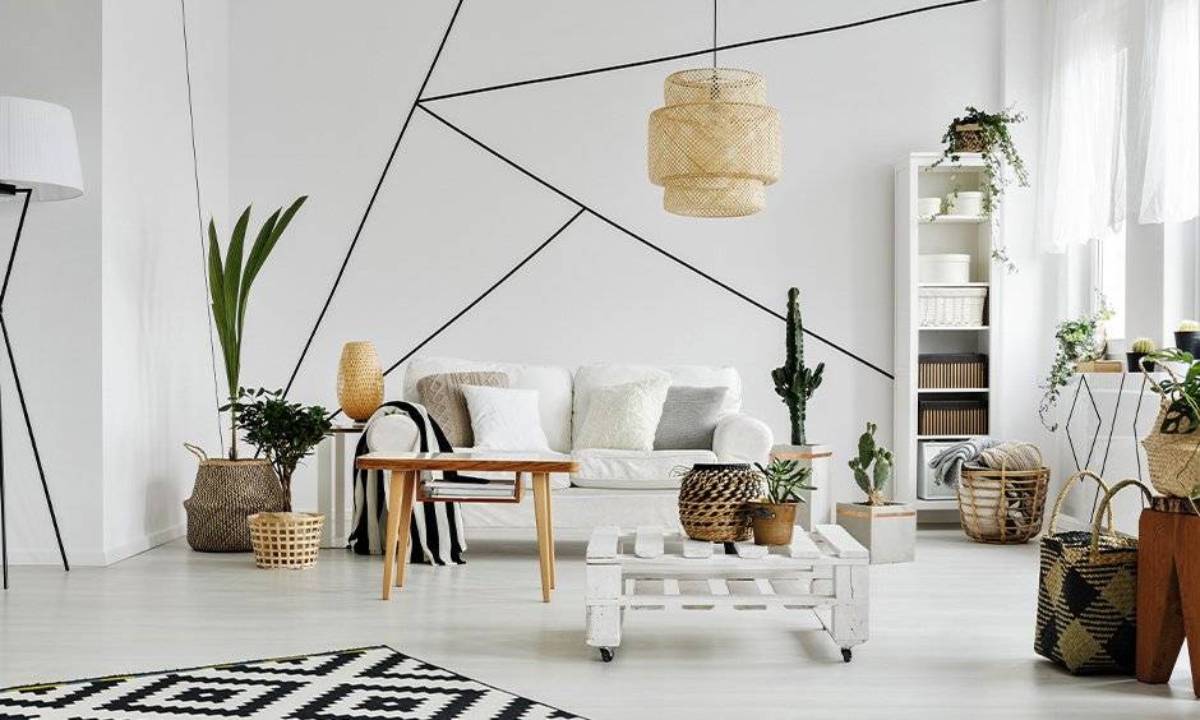
If a Geometric wall mural is not a trend, then what is? It is a celebration of symmetry and balance. It can turn a dull wall into a super PUNCHY focal point. These patterns provide dimensionality to a room, making it more expansive and spirited. They also come in a variety of colours, which makes it possible for you to have them match the colour scheme of any area of your home.
Geometric murals can also be found in many environments. A mural can introduce colour in a partly naked parlour without being overwhelming. Fun shapes and bright colours can spark creativity in a child’s bedroom. You can also use geometric patterns in a home office for elegance and focus.
Key Benefits of DIY Geometric Wall Murals

Making a DIY geometric mural has many perks beyond looks. First, it’s a budget-friendly way to improve your home décor. By doing the project yourself, you save money on hiring a pro. Second, designing and painting your mural can be fulfilling, giving you pride in your work.
DIY wall art also lets you personalise your space. You can choose the colours, shapes, and layouts that match your style and home theme. This customisation makes your mural unique, adding a personal touch to your home.
Materials Needed for a DIY Geometric Wall Mural
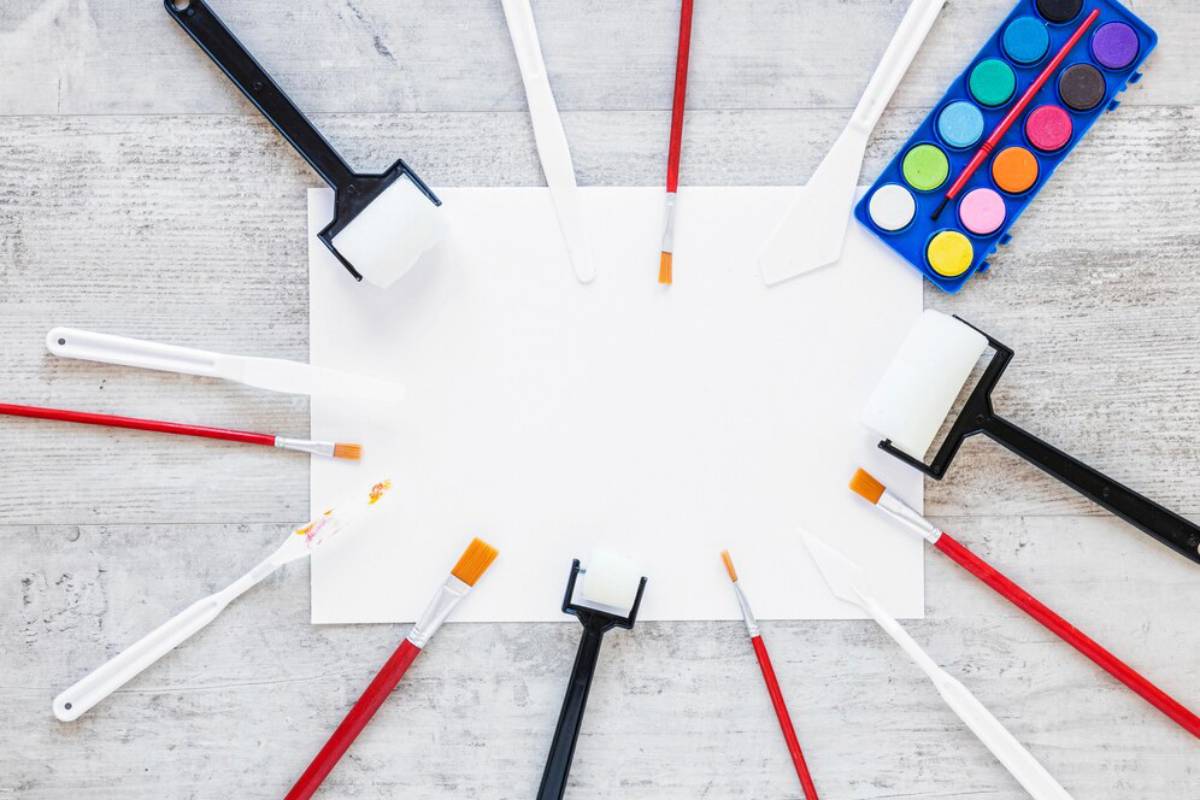
Before you start, gather all the materials you need. Here’s what you’ll require:

- Paints: Get high-quality interior wall paints in your chosen colours. A mix of matte and glossy finishes can add texture.
- Painter’s Tape: This is vital for sharp lines between shapes.
- Paintbrushes and Rollers: Different sizes will help with various mural sections.
- Level and Measuring Tape: These tools ensure accuracy in your design.
- Pencil and Eraser: Use these to sketch your initial design on the wall.
- Drop Cloths and Protective Gear: Protect your floors and clothes from paint.
Step-by-Step Guide to Creating a Geometric Wall Mural
Step 1: Plan Your Design
Start by thinking about your design. Consider the wall’s size and shape, plus the room’s current décor. Sketch your design on paper with a pencil and ruler for accuracy. Choose your colour palette, thinking about the mood you want. Use cool tones like blues for calmness or warm colours like reds for energy.
Step 2: Prepare the Wall
Preparing the wall surface before painting: Clean it well to remove dust and grease, which can prevent paint from sticking. If the wall is uneven, apply primer for a smooth base. Let it dry completely before you continue.
Step 3: Mark the Design on the Wall
Transfer your design from paper to the wall using a level and measuring tape. Lightly sketch the geometric shapes with a pencil, ensuring all lines are straight. Check for accuracy with the level. If you make a mistake, use an eraser to fix it before moving on.
Step 4: Tape the Design
After marking your design, apply painter’s tape along the edges of each shape. This helps create clean lines and stops paint from bleeding. Press the tape down firmly for good adhesion.
Step 5: Paint the Mural
With the tape in place, start painting. Use a roller for large areas and a brush for smaller sections. Apply thin, even coats of paint, letting each layer dry before the next. This prevents drips and ensures a smooth finish. If using multiple colours, paint one section at a time, letting it dry before moving on.
Step 6: Remove the Tape
Once the paint is dry, carefully remove the painter’s tape. Pull it away at a 45-degree angle to avoid peeling off the paint. If any paint has bled, touch the edges with a small brush.
Step 7: Final Touches
After removing the tape, step back to evaluate your work. Make any necessary touch-ups to perfect your mural. Once satisfied, let the paint cure for a few days before moving the furniture back.
Expert Tips and Common Mistakes to Avoid
When making a DIY geometric mural, remember a few best practices. Ensure you have good lighting while painting to see actual colours and avoid missing spots. Be patient and allow enough drying time between coats for a professional look.
Avoid common mistakes like using low-quality paint, which can cause uneven coverage. Rushing through preparation and taping can lead to crooked lines and a messy look. Take your time and execute each step carefully.
Advanced Insights and Expert Recommendations
To elevate your geometric mural, consider adding elements like metallic paints or textured finishes. Metallic paints add glamour, while textures create an interesting tactile feel.
Another technique is to play with perspective using gradients or ombre effects. This adds depth and makes your mural more dynamic. Try different brush techniques to create unique effects and personalise your design further.
Bring Your Walls to Life with Creativity

Fun project: a DIY geometric mural that expresses creativity and beautifies the home. With the help of this article and these suggestions, you’ll end up with a fantastic-looking finish that redecorates your area.
Using that knowledge, you can create your mural … so why not? So, collect your tools, sketch your design, and unleash your artistic ability. Have a note that the only limit is your imagination. Happy painting!