DIY Pegboard Wall Systems for Small Spaces
In the world of small-space living, smart storage isn’t just a luxury—it’s essential. Whether you’re in a compact flat, a studio apartment, or simply trying to make the most of a tight corner in your home, creative organisation solutions can make a world of difference. Enter the DIY pegboard wall system: a customisable, stylish, and highly functional way to maximise vertical storage without compromising on aesthetics or practicality.
In this post, we’ll explore why pegboard walls are ideal for small spaces, how to design and build your own, and clever ideas for using them in different rooms. You’ll discover real-world storage hacks, get expert-backed tips, and learn how a simple board with holes can completely transform your living or working space. Whether you’re after a more efficient kitchen, a tidier workspace, or just a prettier way to store tools or crafts, this guide has you covered.
Why Pegboard Walls Are Perfect for Small Spaces
Vertical Storage Maximises Limited Space
In small homes, floor space is a precious commodity. Pegboards take advantage of vertical surfaces—walls that would otherwise go unused. This makes them ideal for:
- Tiny kitchens
- Studio apartments
- Home offices or DIY workstations
- Entryways and utility rooms
Highly Customisable and Flexible
Pegboards are a blank canvas. You can:
- Move hooks and shelves around depending on your needs.
- Add containers, baskets, or even lighting.
- Paint or decorate them to match your interior aesthetic.
They grow with you—your storage evolves as your lifestyle does.
Cost-Effective and Easy to Install
Compared to built-in cabinets or custom furniture, pegboard systems are inexpensive, and installing them is a straightforward DIY task. You’ll only need basic tools and a free afternoon to create a system tailored to your space.
Getting Started: Tools and Materials You’ll Need

Before diving into your project, gather the following essentials:
- Pegboard sheet (standard MDF or metal)
- Wall anchors and screws
- Wooden battens or spacers (to lift pegboard from the wall)
- Hooks, shelves, and containers
- Drill, level, measuring tape, and screwdriver
- Optional: paint, brush/roller, masking tape (for custom designs)
Tip: Choose a pegboard with 1/4-inch holes for durability and accessory compatibility.
Step-by-Step Guide to Installing Your Pegboard Wall
1. Choose the Right Location
Find a wall that’s underutilised or cluttered. Consider:
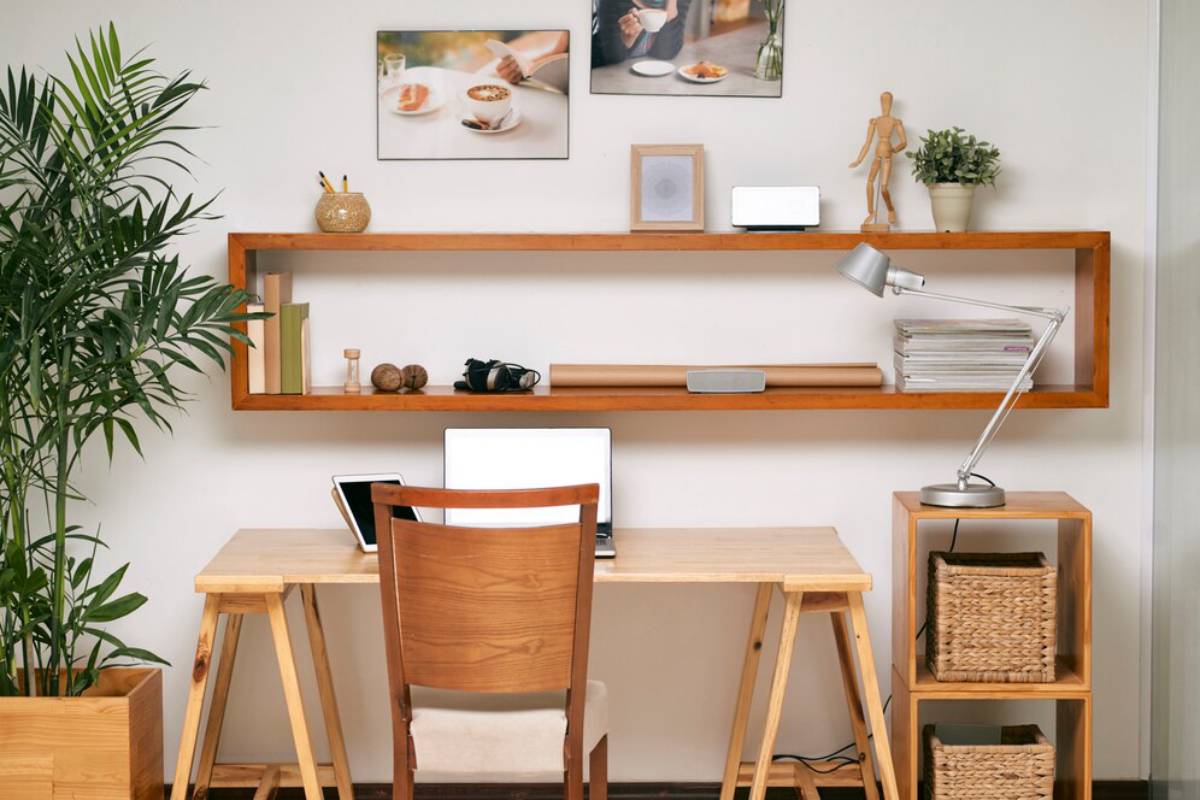
- The wall behind your desk for a DIY workspace wall
- A narrow hallway corner
- Above the kitchen counter
- The inside of a wardrobe or pantry door
2. Measure and Cut
- Measure your chosen wall space.
- Cut your pegboard to fit, or join multiple boards for a larger display.
3. Create Spacing
- Attach wooden battens or spacers behind the pegboard to create a gap (about 1/2 inch). This allows the hooks to fit through properly.
4. Mount the Pegboard
- Use a level to keep it straight.
- Secure the board into wall studs using screws or, for hollow walls, wall anchors.
5. Add Accessories and Personalise
- Attach shelves, baskets, jars, or hooks.
- Paint it for a pop of colour or create a design using masking tape.
Smart Ideas for Using Pegboards in Every Room
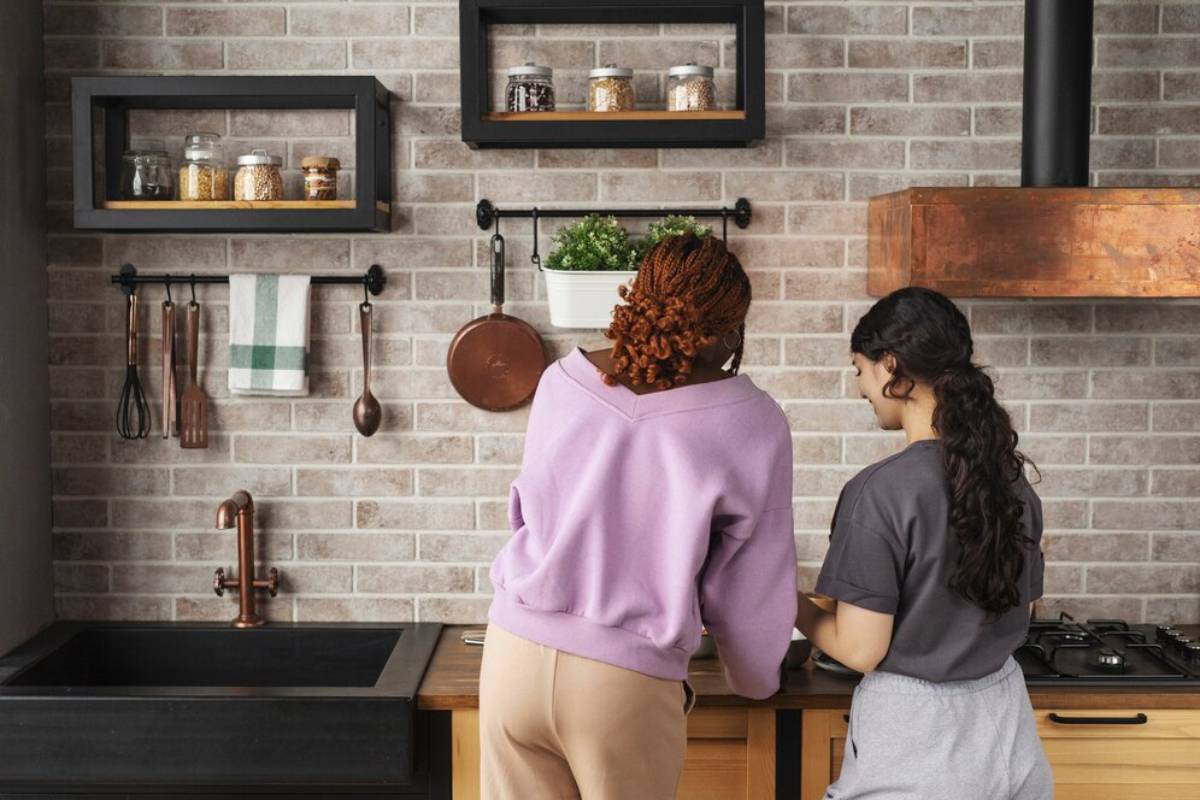
Kitchen: A Chef’s Best Friend

Use a pegboard to hang:
- Pots and pans
- Cooking utensils
- Spices in magnetic jars
- A chalkboard menu or recipes
Small space storage hacks like these can declutter your cupboards and keep essentials within arm’s reach.
Home Office: Productivity Meets Style
Transform your workspace with a DIY workspace wall that includes:
- Pen holders and sticky note boards
- Mini shelves for supplies
- A corkboard section for reminders
- Headphone or cable organisers
This keeps your desk clean and improves focus.
Bedroom or Wardrobe: Fashionably Functional
Use pegboards to:
- Hang jewellery, scarves, or belts
- Display handbags or hats
- Add small mirrors or decorative elements
You can even install it inside a closet door for a space-saving fashion station.
Bathroom: Tame the Toiletry Chaos
In a small bathroom, mount a pegboard to hold:
- Hairdryers and brushes
- Toiletries in wire baskets
- Towels or washcloths
Waterproof metal pegboards work best here.
Entryway or Utility Room: Grab-and-Go Organisation
Perfect for organising:
- Keys, sunglasses, and mail
- Dog leads and bags
- Coats, hats, and umbrellas
Add a small mirror and a shelf for your wallet and you’ve got an entryway command centre.
Expert Tips for a Flawless Pegboard Setup
Design With Zones in Mind
Segment your board based on categories: tools on the left, supplies on the right, decorative items in the middle. This improves visual clarity and makes the space more intuitive to use.
Choose Sturdy Accessories
Opt for metal hooks or reinforced plastic. Overloaded or flimsy accessories can warp your board or fall off. Some brands even offer lock-in systems for extra stability.
Refresh Seasonally
As your needs change, so should your pegboard layout. Swap items seasonally—gardening tools in spring, crafting materials during holidays, etc.
Use Labels for Clarity
In busy spaces, especially kitchens or garages, labelling your accessories can save time and reduce clutter.
Case Study: From Cluttered Desk to Dream DIY Workspace
Sarah, a freelance illustrator living in a 500-square-foot flat in Manchester, struggled with a chaotic desk setup. Art supplies, notebooks, and tech accessories constantly cluttered her workspace, leaving little room for creativity.
After installing a DIY pegboard wall behind her desk, she gained:
- Dedicated space for brushes, markers, and tools
- A mood board and calendar section
- Hanging jars for clips and erasers
“It’s like I gained an extra desk without actually buying one,” she says. “Now, everything’s off the surface but still accessible. It changed how I work.”
Sustainability Bonus: Upcycling Pegboard Systems
Pegboards also lend themselves well to eco-friendly DIY projects. You can:
- Reuse old wooden boards or materials from second-hand shops.
- Upcycle old tins, jars, or baskets into storage containers.
- Paint or decorate with leftover supplies instead of buying new ones.
This reduces waste and gives your pegboard a unique, personal flair.
Key Takeaway
A DIY pegboard wall system is a game-changer for anyone navigating the challenges of small-space living. It combines versatility, style, and practicality—turning unused walls into dynamic storage zones. Whether you’re an artist, cook, student, or simply trying to keep your home tidy, pegboards offer a solution that’s as functional as it is visually appealing.
Time to Peg Your Way to Better Living
Incorporating a DIY pegboard organisation system is one of the smartest, most adaptable small space storage hacks out there. It empowers you to take control of your space, cut down on clutter, and showcase your creativity—all while keeping things tidy and accessible.
Ready to transform your kitchen, office, or bedroom wall? Grab a board, plan your layout, and get drilling. Your space—and your sanity—will thank you.
Don’t forget to share your pegboard projects or hacks with us in the comments! Looking for more DIY home improvement ideas? Subscribe to our blog for weekly inspiration.