DIY Laptop Stand Projects for Better Ergonomics
In the age of remote work, online learning, and digital side hustles, our laptops have become command centres for productivity and creativity. But extended hours hunched over a screen can lead to more than just eye strain—it contributes to neck pain, poor posture, and long-term musculoskeletal issues.
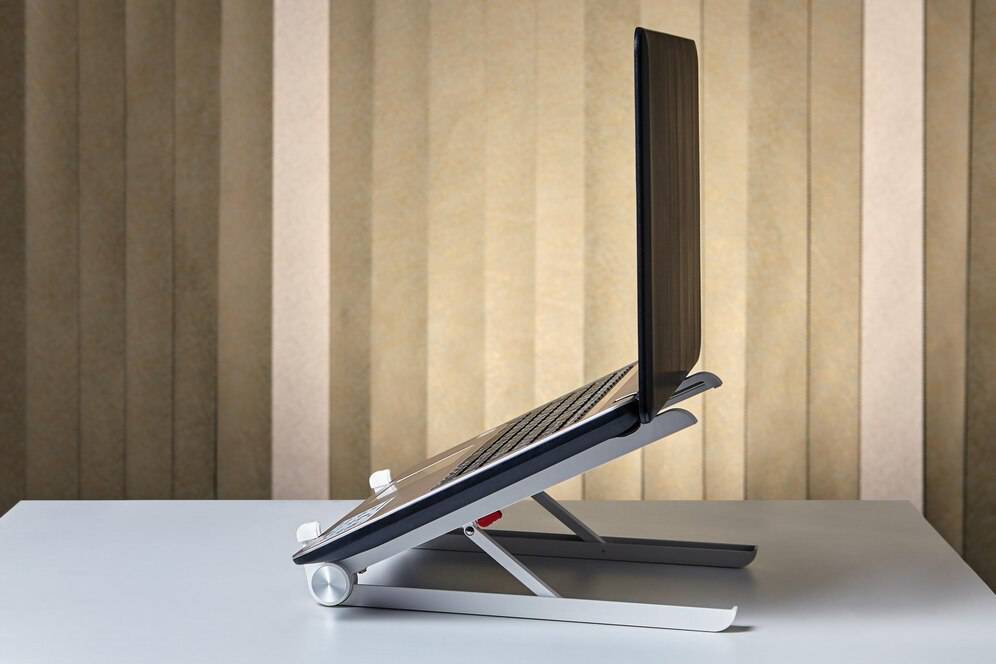
The solution? Elevating your screen to eye level. A laptop stand is one of the simplest upgrades you can make to improve posture and comfort at your desk. While plenty of commercial options exist, crafting your own homemade laptop stand can be more affordable, customisable, and surprisingly satisfying.
In this guide, we’ll explore practical and stylish DIY tech accessories that enhance your ergonomic desk setup. From budget-friendly builds to repurposed home items, these projects are designed to fit every skill level—and every space.
Why You Need a Laptop Stand
Before we delve into tools and techniques, let’s clarify the benefits of using a stand.
Key Ergonomic Advantages:
- Improved Posture: Keeps your spine aligned by raising the screen to eye level
- Reduced Neck and Shoulder Strain: Minimises the tendency to hunch
- Better Airflow: Elevates the device to prevent overheating
- Enhanced Desk Space: Allows storage underneath for keyboards or notebooks
Creating your own DIY tech accessories allows you to personalise these benefits to your space, budget, and aesthetic.
Planning Your Homemade Laptop Stand
Before you begin building, consider the following:
1. Laptop Size and Weight
Measure your device to ensure the stand will support it securely. Heavier laptops require sturdier materials.
2. Typing Style
If you use a separate keyboard and mouse (recommended), you can raise the laptop higher. If not, a lower elevation angle may be more practical.
3. Available Materials

Look around your home for reusable or recyclable materials—wood, cardboard, metal piping, even old books or shelves can be transformed.
4. Workspace Size
Ensure the final design fits your desk without overwhelming your working area.
Tools You Might Need
Depending on the complexity of your chosen project, gather:
- Tape measure or ruler
- Hand saw or electric jigsaw (for wood or plastic)
- Screwdriver or drill
- Sandpaper
- Wood glue or epoxy
- Paint, varnish, or fabric (for finishing)
Now, let’s explore five DIY stand projects to suit different tastes and toolkits.
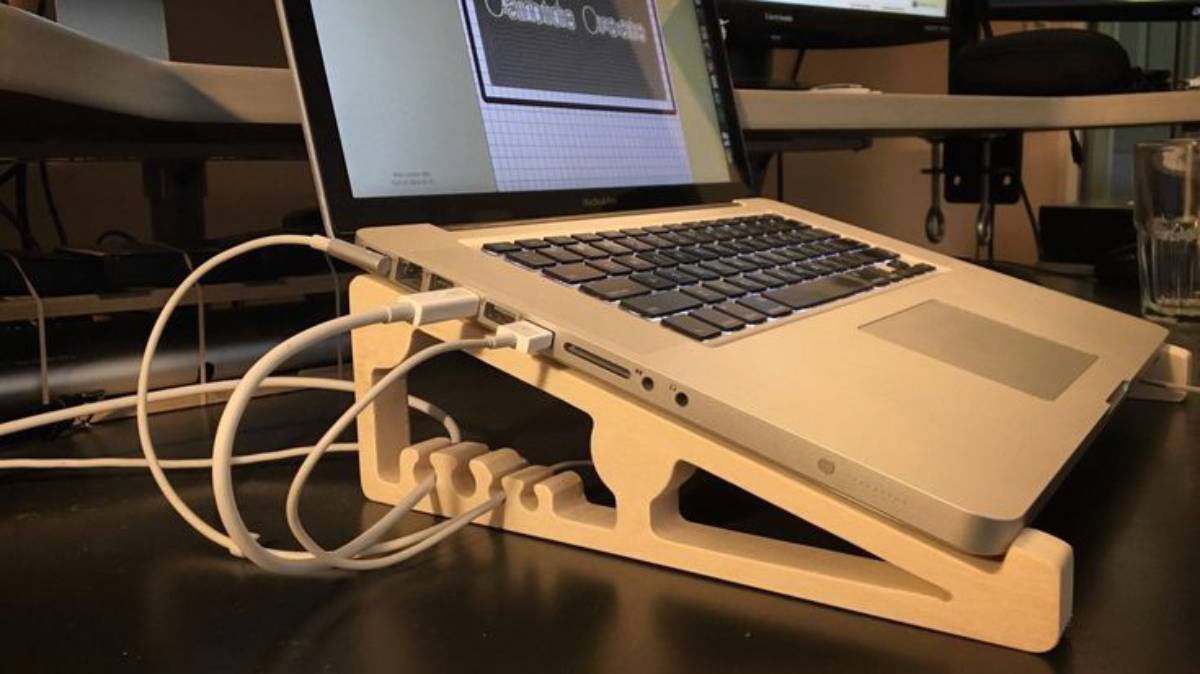
Project 1: Minimalist Wooden Laptop Riser
Skill Level: Moderate
Materials: Pine or plywood board, wood glue, optional paint or stain
Style: Clean, Scandi-inspired
Instructions:
- Cut two triangular side pieces for stability.
- Cut one flat board for the top platform.
- Sand all edges smooth.
- Attach the top to the sides using glue or screws.
- Optionally, paint or stain to match your workspace.
Bonus: You can store a keyboard or notebook underneath for a cleaner desk.
Ergonomic Desk Setup Perk: Fixed eye-level elevation, especially effective when paired with an external keyboard and mouse.
Project 2: Foldable Cardboard Stand
Skill Level: Easy
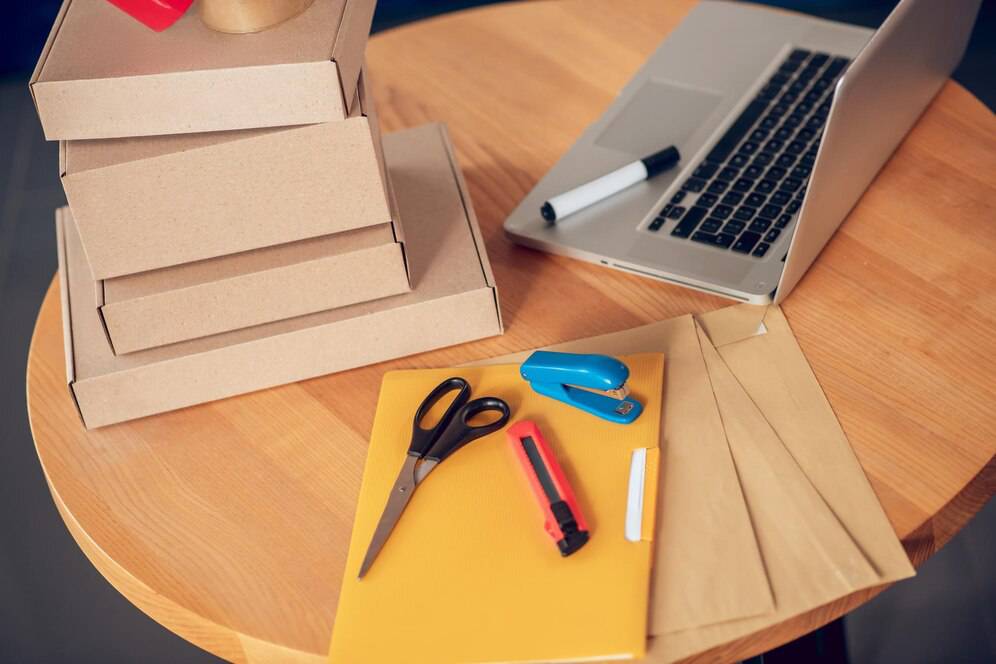
Materials: Thick corrugated cardboard, ruler, craft knife, glue
Style: Eco-conscious, budget-friendly
Instructions:
- Print a folding template from an online resource (many available for free).
- Trace and cut the template on sturdy cardboard.
- Fold and glue into position as directed.
Strength Tip: Use double-layered cardboard for added durability.
Ideal For: Students or renters who want a lightweight, temporary, or portable solution.
DIY Tech Accessories Advantage: Easily recycled and replaced when worn out.
Project 3: Copper Pipe Laptop Stand

Skill Level: Moderate to Advanced
Materials: Copper plumbing pipes, elbow joints, pipe cutter
Style: Industrial, modern
Instructions:
- Measure and cut pipes for a rectangular base and slanted top.
- Connect using elbow joints.
- Optionally glue joints for added strength.
- Add rubber feet to prevent desk scratches.
Optional Finish: Leave raw for a rustic look, or polish for shine.
Ergonomic Bonus: Its open design improves airflow and heat dissipation.
Project 4: Upcycled Book Stack with Shelf Brackets
Skill Level: Easy
Materials: Old hardcover books, shelf brackets, strong adhesive
Style: Vintage, eclectic
Instructions:
- Select books of similar size and stack to desired height.
- Secure with glue or insert small metal rods for reinforcement.
- Attach shelf brackets on either side for extra support.
Aesthetic Appeal: Blends decor and function seamlessly—perfect for creative workspaces.
Best For: Literature lovers or those with an eye for quirky design.
Project 5: Acrylic Sheet + Adhesive Legs
Skill Level: Beginner
Materials: Clear acrylic sheet, silicone feet or adhesive risers
Style: Sleek, minimalist
Instructions:
- Cut acrylic sheet to laptop dimensions.
- Attach four risers at corners to elevate the surface.
- Optionally add grip pads to prevent sliding.
Why It Works: Clean lines and transparency keep your desk feeling open and modern.
Home Office Bonus: Adds lift without visually cluttering your workspace.
Ergonomic Tips to Complement Your Laptop Stand
Even with a stand, consider these adjustments to optimise your ergonomic desk setup:
1. Use an External Keyboard and Mouse
This allows the laptop to stay at eye level while your hands remain at a neutral height.
2. Mind Your Chair
Your chair should support your lower back, allow feet to rest flat on the floor, and keep knees at a right angle.
3. Observe the 90/90/90 Rule
Elbows, hips, and knees should all be at approximately 90 degrees when sitting.
4. Take Micro Breaks
Every 30–45 minutes, stand up, stretch, or do a quick walk around to reset posture and reduce strain.
5. Use a Footrest if Needed
If your feet don’t rest flat, use a small box, stool, or footrest to avoid hip or knee stress.
Personalising Your Homemade Laptop Stand
Beyond functionality, your stand can reflect your personal style. Try:
- Decorative Painting or Decoupage: Make it a statement piece
- Staining Wood: Match other furniture in your home office
- Label or Initials: Carve or print your name for a personal touch
- Cable Management: Add hooks or clips to keep wires tidy
Customisation makes your stand not just a tool, but a reflection of your work-from-home identity.
The Sustainable Advantage of DIY Tech Accessories
Creating your own stand reduces manufacturing demand, packaging waste, and often repurposes materials that would otherwise go to landfill. It’s a win for your posture—and the planet.
Green Tip: Try using reclaimed timber, cardboard shipping boxes, or metal pipes from local hardware surplus shops.
Build It, Use It, Love It
In the end, a homemade laptop stand offers more than ergonomic support—it brings a sense of control, creativity, and comfort to your workspace. Whether you’re solving posture problems, upgrading your remote setup, or just looking for a weekend project, these DIY solutions blend practicality with personal flair.
Take action today: Pick a design that fits your space and start building. Your back (and your budget) will thank you.