Botanical-Inspired Wall Art: Easy DIY Nature Prints
There’s something inherently calming about nature—its textures, colours, and organic patterns soothe the senses and enrich our spaces. If you’re looking to refresh your interior style without breaking the bank, DIY botanical wall art offers a beautiful and budget-friendly way to introduce greenery and tranquillity into your home.
From delicate pressed leaf prints to creative nature rubbings, botanical art is easy to make, customisable to your taste, and wonderfully therapeutic to create. It also brings a touch of the outdoors into even the most urban spaces—perfect for renters, nature lovers, or anyone who appreciates nature-themed decor.
In this guide, we’ll walk through step-by-step techniques for creating your own DIY botanical prints, offer tips on sourcing natural materials, and explore ways to display your creations for maximum impact.
Why Botanical Art Is Timeless
Botanical illustrations have been a feature of art and science for centuries, from Victorian herbariums to modern Scandinavian interiors. They offer a unique blend of aesthetic appeal and educational curiosity.
Benefits of Botanical-Inspired Wall Art:
- Adds natural texture and organic warmth
- Complements minimalist, rustic, or boho interiors
- Provides a calm, earthy focal point
- Celebrates the diversity of plant life
- Encourages mindfulness and outdoor exploration
Whether you live near a forest or just have access to a local park, nature’s palette is yours to work with.
What You’ll Need: Basic Supplies
Creating DIY botanical wall art doesn’t require fancy tools—just a few simple materials and a creative spirit.
For Pressed Leaf Prints:

- Assorted fresh leaves (ideally flat and not too thick)
- Paper or card stock (white, beige, or pastel works well)
- Heavy books or a flower press
- PVA glue or double-sided tape
- Tweezers (optional, for delicate handling)
- Frames, glass panels, or clipboards for display
For Painted or Rubbing Prints:
- Acrylic or water-based paint
- Paintbrush or sponge
- Sketching paper or cotton fabric
- Rolling pin or brayer (optional)
- Cloth or apron (it gets messy!)
Choose leaves with prominent veins and varied shapes—they’ll give the most striking detail.
Collecting and Pressing Leaves: A Simple Nature Ritual
1. Go for a Walk
Visit a nearby park, garden, or forest and gather a range of leaves. Look for ferns, maple, ivy, or eucalyptus—plants with intricate outlines and vein patterns.
Tip: Collect leaves that are dry and free from holes or decay.
2. Press and Dry
To preserve leaves for pressed leaf prints, flatten them between two sheets of paper inside a heavy book. Stack more books on top and leave for 7–10 days.
Alternatively, use a flower press for quicker results and more even pressure.
Pro Tip: Keep a journal of where and when each leaf was found—it adds a personal story to your artwork.
Technique 1: Pressed Leaf Wall Art
This is one of the simplest and most elegant ways to create nature-themed decor.
Steps:
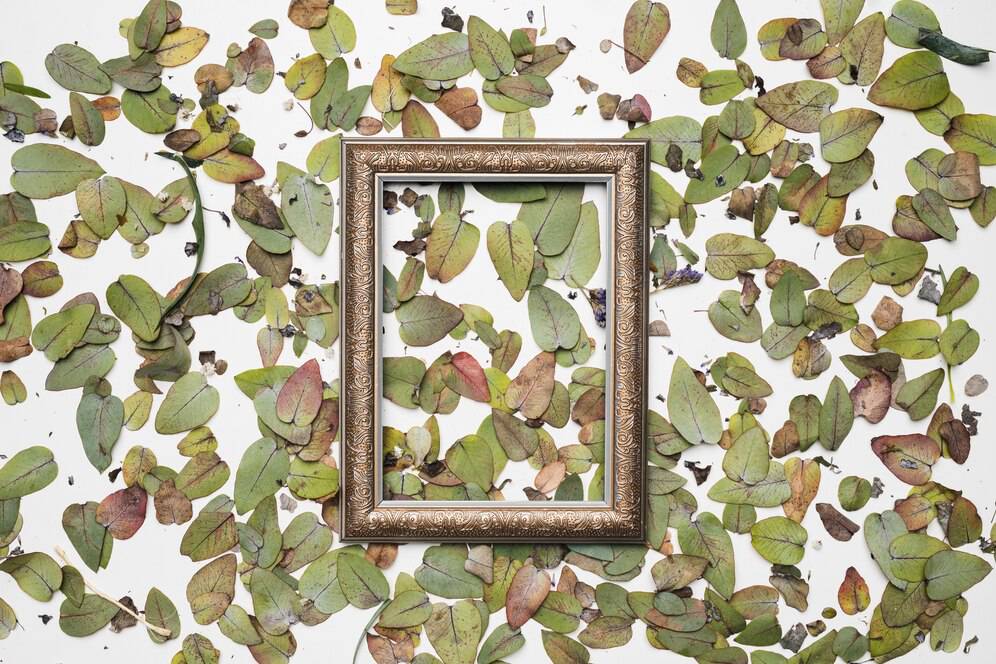
- Arrange your pressed leaves on a piece of paper or card.
- Experiment with layout—try symmetrical designs, overlapping patterns, or a single dramatic leaf centred on the page.
- Use tweezers to gently handle the leaves.
- Attach with glue (use a small amount to avoid warping) or double-sided tape for a cleaner look.
- Frame behind glass or in a clear acrylic panel to protect from dust and moisture.
Style Tip: Use a neutral mount and a rustic wooden frame for a classic, earthy finish—or float mount for a modern, gallery-style effect.
Technique 2: Leaf Rubbing Prints

Leaf rubbings are a nostalgic, tactile way to capture the essence of plant textures.
What You’ll Need:
- Fresh or dried leaves
- Paper
- Soft graphite pencil or wax crayon
- Optional: watercolour wash for added depth
Instructions:
- Place the leaf vein-side up on a flat surface.
- Lay a sheet of paper over the top.
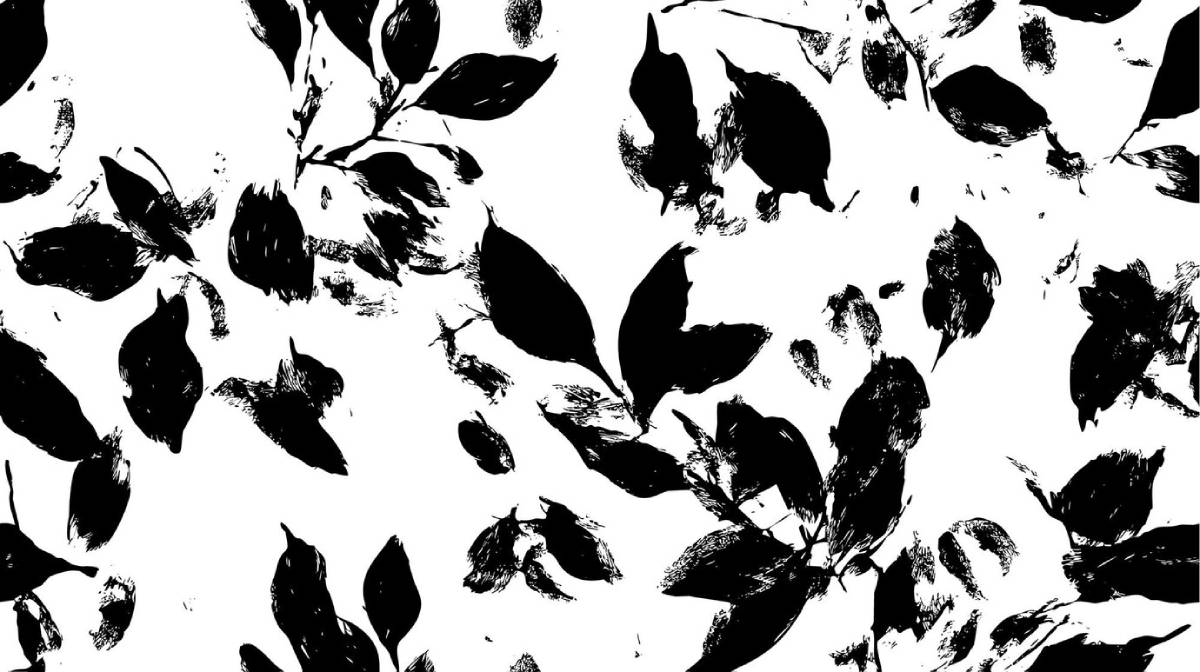
- Gently rub the crayon or pencil over the surface to reveal the leaf’s pattern.
- Optional: Add watercolour strokes after rubbing to enhance the silhouette.
This method is great for children, making it a creative and educational activity that doubles as charming nature-themed decor.
Technique 3: Painted Botanical Prints
Add colour and boldness to your botanical art with painted prints.
Steps:
- Paint the underside of a leaf with a thin layer of acrylic or water-based paint using a sponge or brush.
- Press the painted side onto a sheet of paper or canvas.
- Apply pressure evenly—use a rolling pin or your palm.
- Lift the leaf to reveal the print.
- Let dry and repeat with different colours or leaves.
Creative Variations:
- Try metallic paints on black paper for dramatic contrast.
- Use fabric paint to print onto canvas tote bags or cushions.
DIY Botanical Gallery Wall: Display Ideas
Once your DIY botanical wall art is complete, display it proudly. Here are a few ideas:
1. Classic Grid Layout
Frame six to twelve small leaf prints in uniform sizes and arrange in a grid on a hallway or living room wall.
2. Eclectic Mix
Pair your botanical prints with vintage illustrations, nature photography, or pressed flowers for a layered gallery wall.
3. Floating Frames
Let the leaf be the star. Use transparent floating frames to create the illusion that your print is suspended mid-air.
4. Clipboards or Hangers
Hang your art from wooden clipboards, string, or trouser hangers for a laid-back, Scandinavian-inspired look.
Sustainability and Storytelling Through Nature-Inspired Decor
Botanical wall art not only celebrates nature visually but also reinforces sustainable values:
- Low-impact materials: No need for plastic, synthetic prints, or mass production.
- Upcycling potential: Reuse old books, paper scraps, or thrifted frames.
- Seasonal connection: Your collection can evolve with the year—spring blossoms, summer ferns, autumn leaves.
By making and displaying your own DIY botanical wall art, you create not just something beautiful, but something deeply personal and environmentally thoughtful.
Additional Tips for Success
- Label your artwork with the plant species name or date collected for an educational twist.
- Spray sealant can help preserve pressed leaves if they’re not behind glass.
- Experiment with layout on the floor or table before committing to glue or frames.
- Use archival paper if you want your pieces to last for years without fading or yellowing.
Great For All Skill Levels
You don’t need to be an artist to create striking nature-themed decor. Whether you’re new to crafting or a seasoned DIYer, botanical prints are approachable, meditative, and highly rewarding.
They also make meaningful handmade gifts—particularly when paired with a note about where the leaf came from or what season it represents.
Rooted in Nature, Grown by You
Nature offers all the inspiration and raw materials you need to transform your walls. With pressed leaf prints, paint, or even just a pencil, you can bring a little bit of the outdoors inside—creating a calming, personal space that reflects the beauty of the natural world.
Take action today: Go for a walk, gather a few leaves, and start experimenting. Your very own collection of DIY botanical wall art might be just the refresh your home—and your spirit—needs.