Handmade Beeswax Wraps for Sustainable Living: A Step-by-Step Guide
Today , environmental matters have become pressing. So, finding ways to minimise waste and live sustainably is essential. A straightforward little step you can take is to use handmade beeswax wraps for your food. These reusable, eco-friendly DIY wraps are a sustainable alternative to plastic. Instead, they offer a sustainable alternative to single-use plastics. In this article, we explore the benefits of beeswax wraps. We’ll walk you through how to make your own in easy steps. Plus, we’ll share some expert tips to help your wraps stay effective and last longer.
Why Beeswax Wraps Matter
At first glance, beeswax wraps might seem like a small change, but they can significantly impact reducing plastic waste. Traditional plastic wraps are used once and discarded, contributing to the growing plastic pollution problem. In contrast, beeswax wraps are reusable, biodegradable, and compostable. By opting for these eco-friendly DIY alternatives, you are reducing your carbon footprint and promoting a more sustainable lifestyle.
The Environmental Impact of Plastic Wraps
Plastic wraps are notorious for their negative environmental impact. They are derived from petroleum, a non-renewable resource, and contribute to the accumulation of plastic waste in landfills and oceans. Millions of tonnes of plastic waste are estimated to enter the oceans each year, harming marine life and ecosystems. By choosing reusable food wraps like beeswax wraps, you are actively participating in reducing this environmental burden. They are recyclable too.
Health Benefits of Beeswax Wraps
Beyond their environmental advantages, beeswax wraps also offer health benefits. Unlike plastic wraps, which can leach harmful chemicals into food, beeswax wraps are made from natural materials. They are free from toxins and safe to use with various food items. Additionally, beeswax’s natural antibacterial properties help keep your food fresh for extended periods.
How to Make Your Beeswax Wraps
Creating your beeswax wraps is a straightforward process that allows you to customise them according to your preferences. Here’s a detailed step-by-step guide to help you get started:
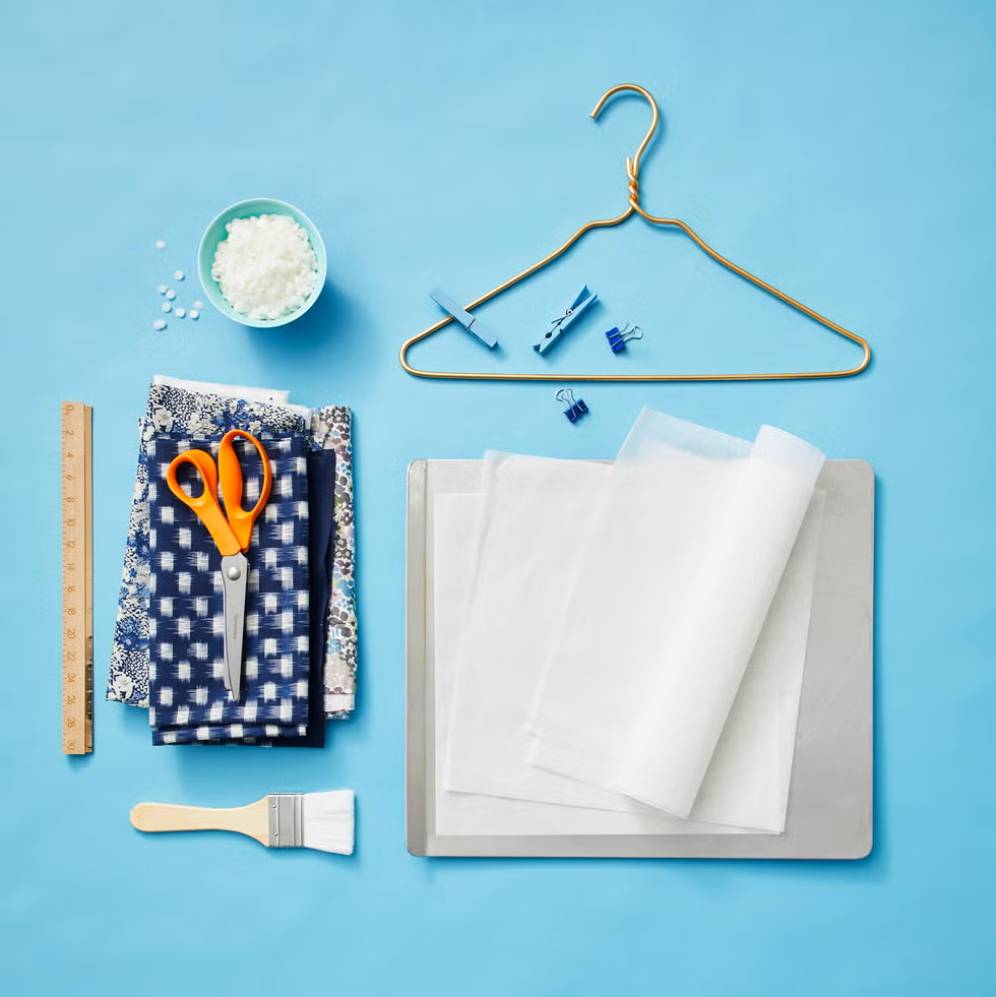
Materials You’ll Need

- 100% cotton fabric (preferably organic)
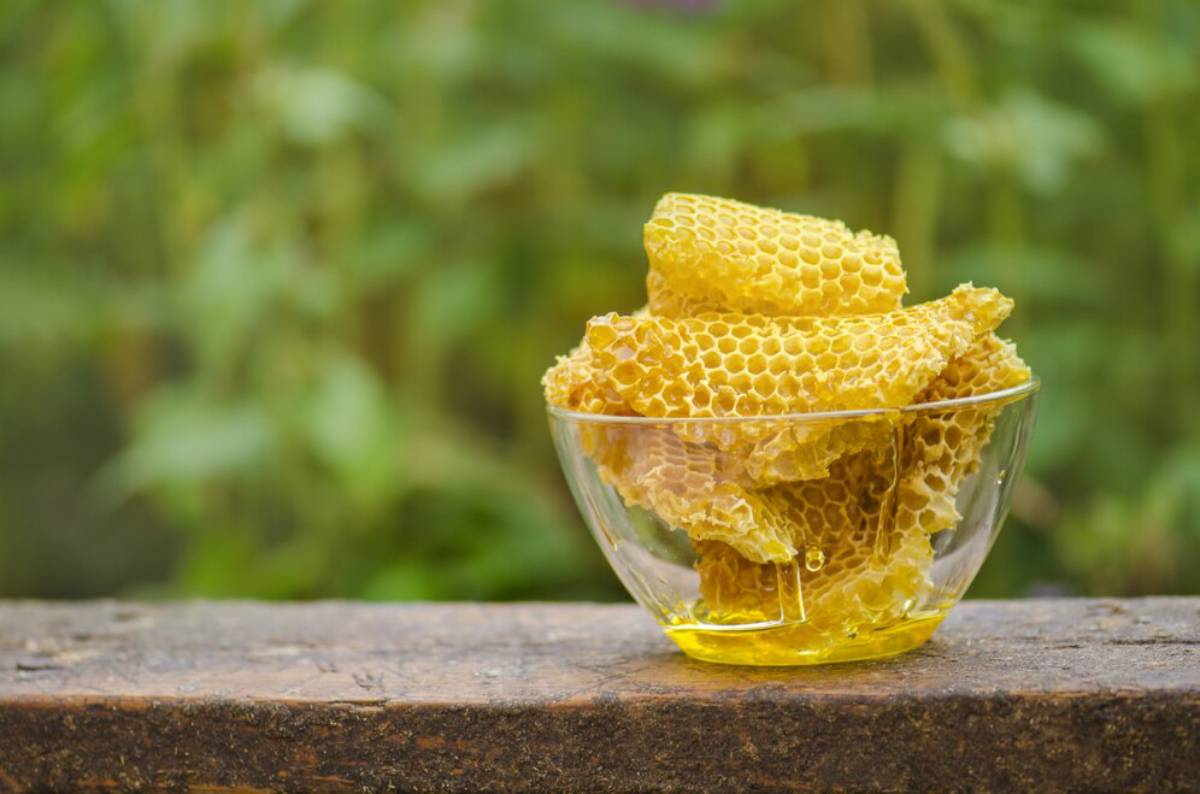
- Beeswax pellets or blocks
- Jojoba oil (optional)
- Pinking shears or regular scissors
- Parchment paper
- Baking tray
- Brush (for spreading the wax)
- Oven
Step-by-Step Instructions
Step 1: Prepare Your Fabric
Cut your fabric into desired sizes using pinking shears to prevent fraying. Popular sizes include small (20×20 cm), medium (25×25 cm), and large (30×30 cm). Wash and dry the fabric to ensure it is clean and residue-free.
Step 2: Melt the Beeswax
Preheat your oven to a low temperature (around 80°C). Place the beeswax pellets in a heatproof container and melt them in the oven, or use a double boiler on the stovetop. If you choose to add jojoba oil, do so at this stage; it helps to maintain the wrap’s flexibility.
Step 3: Apply the Beeswax
Lay your fabric on a baking tray lined with parchment paper. Using a brush, evenly spread the melted beeswax over the fabric. Ensure that the entire surface is covered with a thin layer of wax.
Step 4: Bake the Wraps
Place the baking tray with the wax-coated fabric in the oven for a few minutes until the wax has fully melted and evenly saturated the fabric. Keep a close eye to avoid overheating.
Step 5: Cool and Use

Carefully remove the tray from the oven and let the wraps cool. Once they have hardened, they are ready to use. Simply mould them around food items or containers using the warmth of your hands to create a seal.
Expert Tips and Common Mistakes to Avoid
Tips for Longevity
To ensure your beeswax wraps last as long as possible, avoid exposing them to heat or hot water. Instead, wash them gently with cold water and mild soap. Allow them to air dry completely before storing.
Common Mistakes
A common mistake is applying too much beeswax, making the wraps stiff and difficult. Aim for a thin, even coating to maintain flexibility. Additionally, to prevent contamination, avoid using beeswax wraps with raw meat or excessively greasy foods.
Advanced Insights and Recommendations
Beeswax wraps are a great way to reduce plastic. Also, consider adding more eco-friendly DIY projects to your routine. Try making reusable items like cloth produce bags or homemade cleaning products. This will help reduce waste in your home.
Customisation Ideas
Personalise your beeswax wraps by experimenting with different fabric patterns and colours. You can also add essential oils to the wax mixture for a pleasant scent and additional antibacterial properties.
Embrace Sustainable Living
Use eco-friendly handmade beeswax wraps. Moving from single-use plastics to these sustainable, DIY solutions helps reduce your environmental footprint. Keep in mind that each little adjustment adds to a greater effect for good. So what are you waiting for? Make your own reusable food wraps today and join the movement towards a greener, more sustainable future!
Are you ready to switch to beeswax wraps? Let us know your experiences and tips in the comments below, and let’s inspire each other towards a more sustainable lifestyle!